


Thinking of growing microgreens at home? If you want a fresh supply of tasty, healthy fresh greens throughout the winter months (and indeed, all year round), this is a great idea.
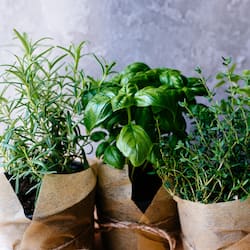
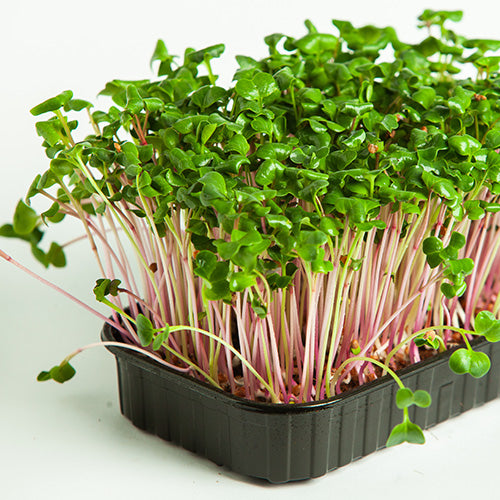
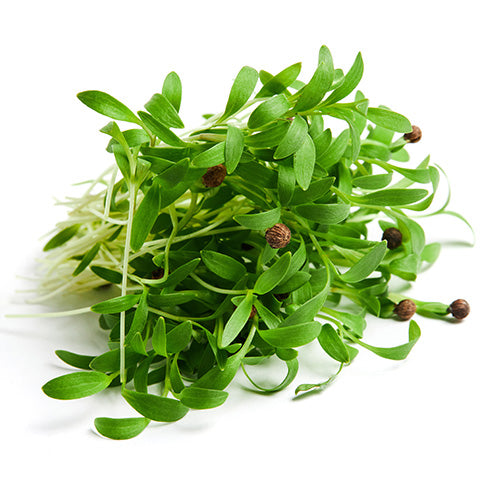
Microgreens are simply young seedlings of edible plants such as herbs and vegetables, with popular varieties including rocket, cress, coriander and parsley. They’re brilliant for beginner gardeners and for child-friendly gardening projects because they’re so easy to grow.
But how do you get started? Read on to find out everything you need to know about growing microgreens on your windowsill at home. We’ll run through what you need, how to sow your seeds and the perfect time to harvest your greens.
What do you need to grow microgreens?
Before you get started growing your microgreens, you’ll need to gather together a few key items. But don’t worry, this is a project that doesn’t require any specialist kit. Apart from the seeds, you can use items you have lying around at home.
Here’s a quick checklist of what you’ll need to grow microgreens:
- A small seed tray, or a recycled food tub or tupperware - almost any container will do, so grab whatever’s to hand
- Some paper towels, kitchen roll or a little compost
- A packet of seeds
- Some water and something to water your seedlings with, such as a cup or refillable spray bottle
- A pair of scissors for cutting your microgreens when ready.
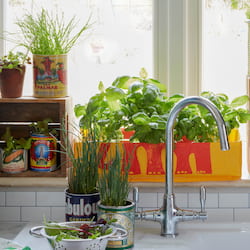
The only other thing you need is a warm, sunny windowsill. You don’t need much space at all, unless you’re planning on growing multiple tubs of microgreens.
How to grow microgreens at home
With those few key items ready, it’s time to start growing. Simply follow these easy steps to get started:
- Take whatever you’re using as a seed tray and line the bottom with the growing medium - paper towels or a little layer of compost.
- Wet the growing medium and sprinkle your seeds on top to sow them. It’s definitely a good idea to use labels if growing different varieties, so you know what is what later on.
- Place the container on a warm windowsill. You can also use a glasshouse if you have one. This will allow the seeds to germinate. They generally need a temperature of between 18–22°C, but luckily this is the average household temperature range.
- Watch your seeds start to grow. If the paper towel or compost starts to dry out, re-wet it by watering gently or using a spray bottle to mist the seedlings. It’s important to water carefully and not overdo it.
This is the basic process of growing microgreens, which couldn’t be easier as you can see. But we also have some additional tips to help you grow like a pro.
The first is to check the seed packet for any additional growing instructions. We’ve based the steps above on growing cress, but other microgreen seeds may have slightly different requirements. For example, some seeds need to be soaked beforehand.
If you want to boost the yield, consider sowing your seeds more thickly. It’s also a good idea to stagger sowing your seeds, so that you have a constant supply - and so that you don’t have a large amount to harvest and eat all at once.
When to cut microgreens
You’ve put in the (not very) hard work of growing your microgreens, now it’s time to reap the benefits. This means lots of tasty little salad leaves to harvest and enjoy. But how do you know when they’re ready?
The best way to tell is by doing a taste test. With your scissors, snip off a leaf or two and see if you like the flavour. This can develop as they grow, so leaves of different sizes will have their own unique flavours.
You can cut and eat your microgreens whenever you want though. Just make sure to rinse the leaves before eating or cooking with them.

Leave a comment
All comments are moderated before being published.
This site is protected by reCAPTCHA and the Google Privacy Policy and Terms of Service apply.