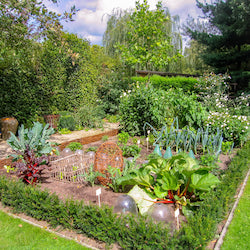


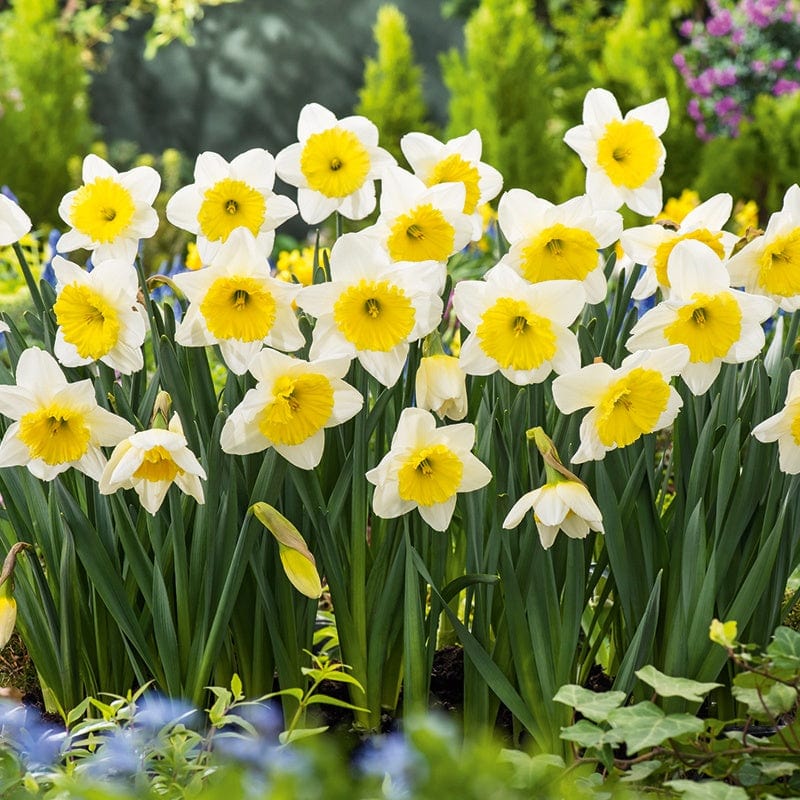

Winter is the perfect time to reset, regroup and prepare for the coming year. It’s not a very active time of year for gardeners, but there is still plenty to do - including clearing dead plants, weeding, and maintaining sheds and fences.
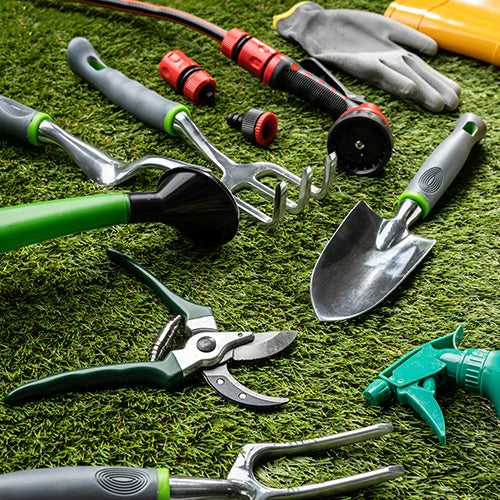
Another job for your winter to-do list is cleaning your garden tools and equipment. It’s an ideal winter activity, and could be more important than you think.
Below, we run through why and how to clean your garden tools, with a few handy tips along the way.
Why should you clean garden tools?
When you put your garden tools away before winter, there’s a good chance they may be caked in soil and other debris. It’s good practice to clean tools after each use, but it doesn’t always happen - especially in busy gardens.
If you can, try to commit to regular cleaning of your hand tools, footwear and other key gardening equipment throughout the year. You’ll find it much easier to do, as dirt and debris hasn’t had a chance to build up. Leave it for months and any stubborn caked-on soil will be tough and time-consuming to remove.
And before putting them away for winter, it’s a good idea to give your tools an extra clean. This is because clean tools are more efficient, work better, last longer and are safer to use. Proper tool maintenance can also prevent the spread of soil-borne diseases.
Cleaning cutting tools
Cutting tools such as secateurs, lopper, shears, knives and pruning saws need regular cleaning. This is because they’re most affected by a build-up of dirt - which in this case is usually sap from the plants you’re pruning. This sap may contain viruses or disease, and also causes the blades to stick together, making cutting tools less sharp and harder to use. You’ll definitely notice the difference in performance.
To prevent spreading disease it is good practice to wipe blades clean after each use, leave your cutting tools covered in sap for any length of time and you’ll have quite the job trying to clean them off. Before putting them away for winter it is well worthwhile giving them a bit of extra attention.
So, here’s how to clean up and look after your cutting tools:
- Use wire wool or a pan scourer to clean off dried-on sap.
- To loosen anything particularly stubborn, try using WD-40 or a similar spray.
- Once the metal is clear, use a clean cloth to remove any spray or lubricant you’ve used.
- Check the tool over, tightening any loose parts.
- You might also want to use a small amount of oil to lubricate the central pivot point. Drop it on, then open and close the shears or secateurs to work the oil in.
If your cutting tools have gone a little blunt, this could be a good time to sharpen them. You’ll need a file or knife sharpener to do this, finishing with a fine film of oil once the cutting edge has been filed to a sharper edge. As always when dealing with sharp blades, be very careful. If you are unsure how to do it safely, take your tools to a professional to be sharpened.
Once you’re done, store your newly sparkling tools in a dry, clean place ready for spring.
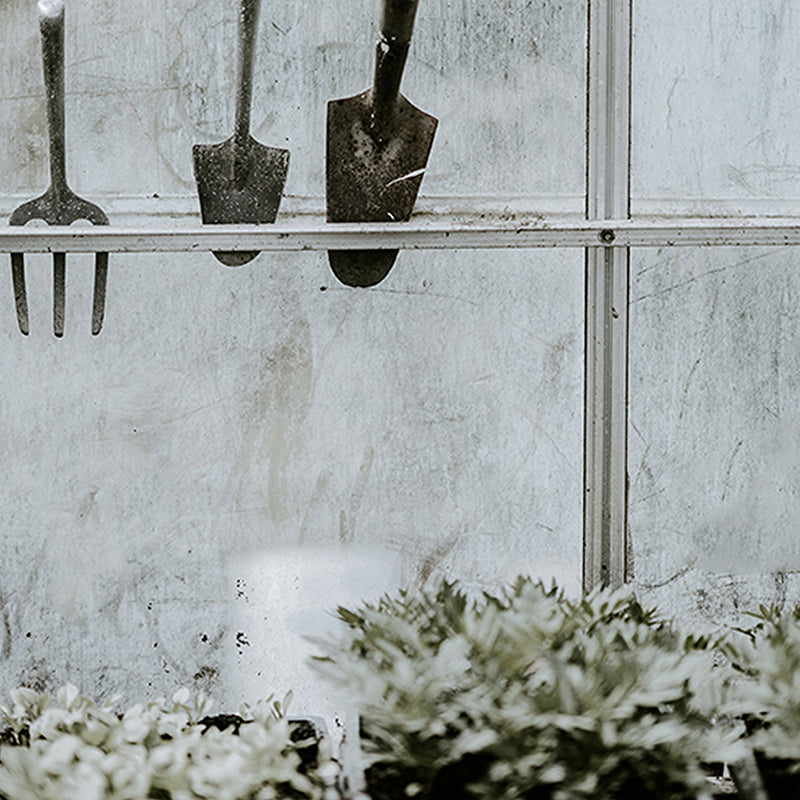
Cleaning digging tools
Now it’s time to turn your attention to some of the hardest working tools in the garden. This is of course your digging tools, including spades, forks, rakes, trowels and hoes.
Before you start, it’s a good idea to have a stiff scrubbing brush and bucket of water or hose pipe on hand.
Here’s how to remove soil and dirt from your favourite digging tools:
- Using a scrubbing brush, remove any dried-on dirt and soil.
- For still-wet or extremely muddy tools, use water to wash them down. You might also need to use a sponge or scrubbing brush to work off any remaining dirt.
- Important - remember to dry your tools as thoroughly as you can after using water to clean them. If you put them away wet, the metal can rust and wooden handles can absorb the moisture and start to swell or split.
Most modern garden tools are made from stainless steel, so you don’t need to do anything extra to protect them from rust. But if you have older tools or are worried about rust, a fine coat of oil should do the trick.
How to sterilise garden tools
The last important job is to sterilise any tools that may have come into contact with diseased or infected plants or soil. If you’ve dug out a diseased plant, sterilising your spade and any other tools you’ve used is recommended. You may also want to do the same with wellies, gloves and overalls. Otherwise, there’s a risk of spreading the disease to your plants next season.
To sterilise tools and equipment, you simply need to use a garden-friendly disinfectant. Apply and leave for around 20 minutes, then wipe off and dry thoroughly.
Leave a comment
All comments are moderated before being published.
This site is protected by reCAPTCHA and the Google Privacy Policy and Terms of Service apply.